
The Employee Onboarding Checklist That Actually Sticks (Pre-Start to 90 Days)

Workplace Systems

Onboarding isn’t a single meeting — it’s a sequence of small promises kept. Here’s a practical checklist that reduces day-one chaos,
builds confidence quickly, and creates the kind of momentum that lasts.

There’s a moment in every new job when the excitement drops and the questions start stacking up:

Where do I find things? Who approves what? What does “good” look like here?

Most businesses don’t lose people because the work is too hard. They lose people because the first few weeks feel
messy, unclear, and strangely lonely — even when the team is friendly. A strong onboarding checklist is the antidote. It turns good intentions into a repeatable routine. It also protects your time: fewer ad-hoc questions, fewer “we forgot to set that up” issues, and fewer awkward re-explanations of things that should’ve been covered once, properly.
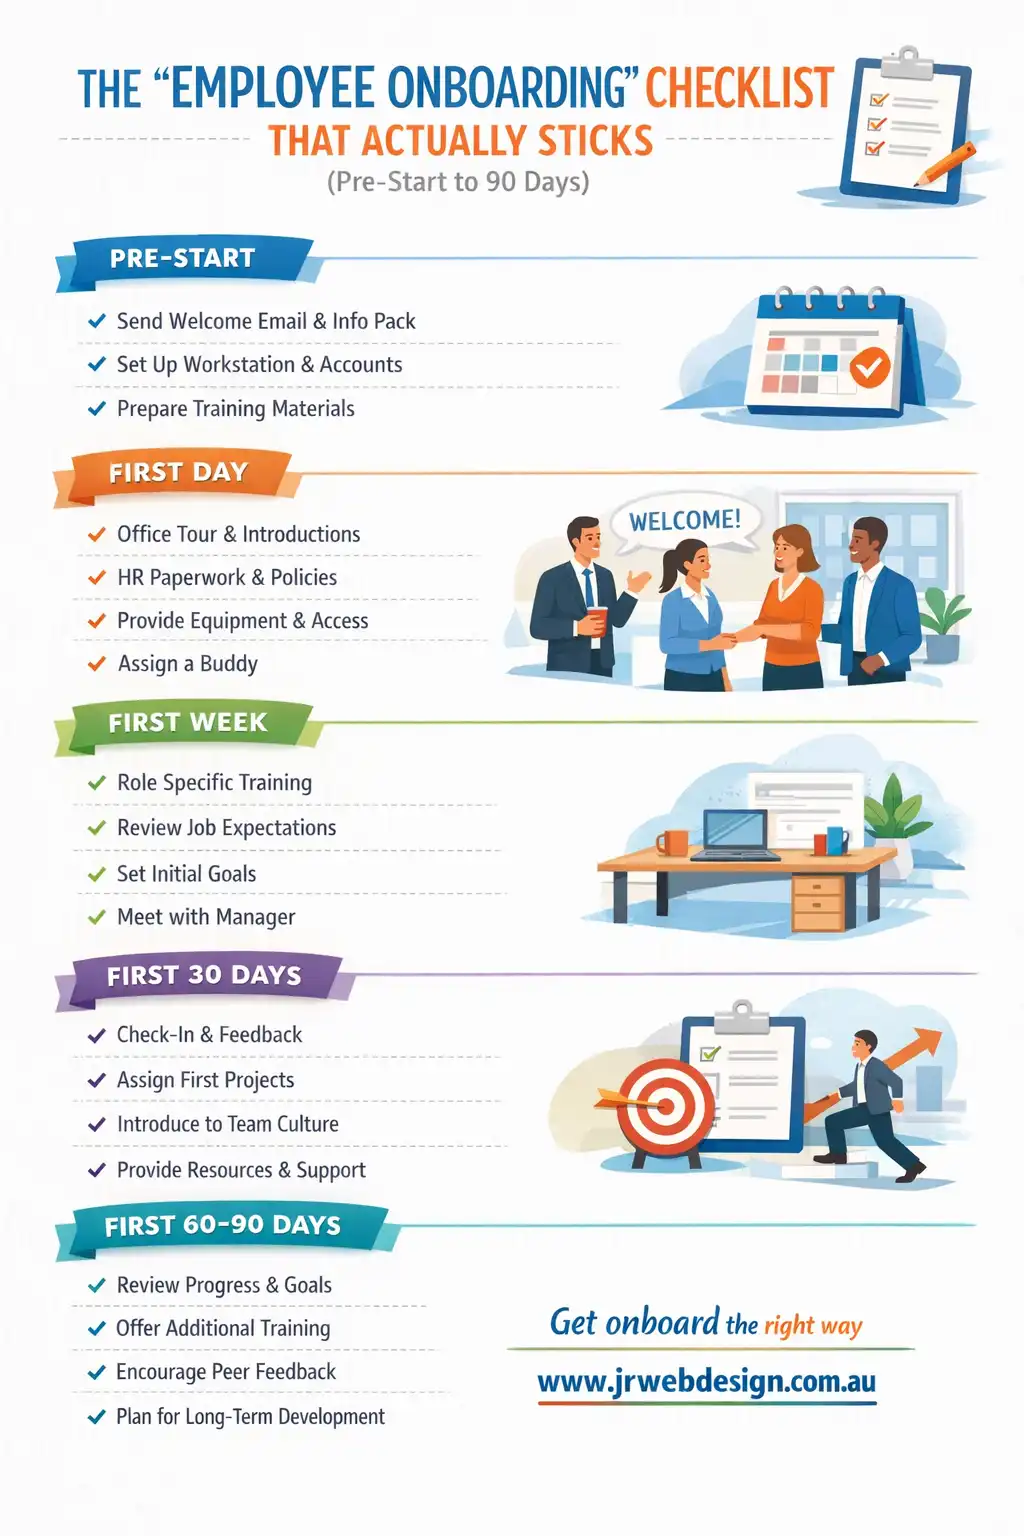
Below is a practical, journalist-style guide you can use as a base. It follows a simple flow:
Pre-Start → Day 1 → Week 1 → 30-60-90. It’s minimal on fluff, heavy on the real-world tasks
that make a new hire feel safe, useful, and confident.


The core idea

Onboarding works best when it’s built like a product: clear steps, visible progress, and a calm rhythm.
Don’t aim to “cover everything” — aim to make the next step obvious.
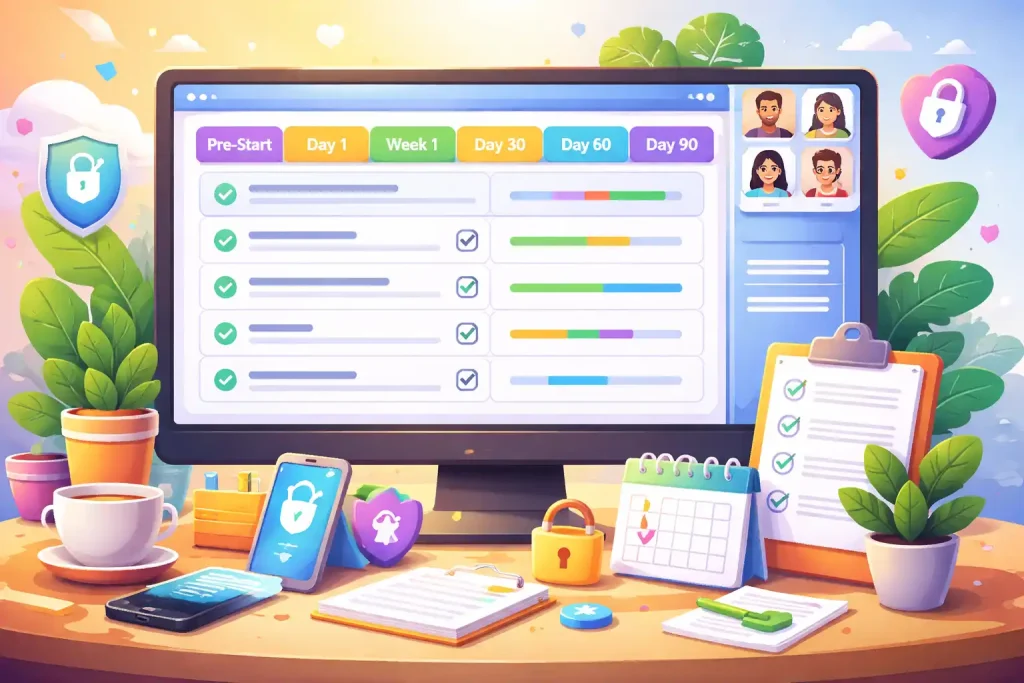
Onboarding planning board with task stages and milestones
When the steps are visible, confidence rises fast — for the new hire and for the team.

Pre-Start: reduce day-one chaos before it begins

The smoothest first day is mostly built in the week before. If you want to make a new hire feel welcomed,
don’t wait until they arrive to start organising their world. Pre-Start is about removing friction:
access, equipment, introductions, and a clear plan for the first few days.

Access + equipment

  • Work email, logins, and password setup ready.
  • Device assigned, updated, and tested (laptop/phone if needed).
  • Tools installed: chat, calendar, docs, project system.
  • Security basics enabled (MFA/2FA where possible).

Clarity + comfort

  • Send a short “what to expect on day one” email.
  • Confirm start time, parking/entry, dress code, lunch plan.
  • Share who they’ll meet and the rough schedule.
  • Assign a buddy for the first two weeks.

If you’re in Australia, Pre-Start is also the right time to gather the basics you’ll need for compliance and payroll,
and to ensure your workplace policies are easy to access. You don’t need to bury people in documents, but you
do need to make it clear where important information lives and who can answer questions.

Day 1: make it human, then make it obvious

Day one shouldn’t feel like a paperwork marathon. The best teams keep the first day friendly and structured:
a warm welcome, a guided tour of how work happens here, then a small, achievable task that creates a win.
People remember how your workplace felt long after they forget what was said.
Team introduction scene with a friendly workplace atmosphere
First impressions are practical: warmth, structure, and a clear next step.

Welcome essentials

  • Introduce the team and explain how to ask for help.
  • Confirm working hours, break times, and expectations.
  • Show where key documents and templates live.
  • Explain what “success” looks like this week.

A first win

  • Give a starter task that matters but is low risk.
  • Pair them with someone for a short co-work session.
  • End the day with a quick check-in (10 minutes).
  • Ask: “What felt unclear today?” and fix one thing.

Week 1: rhythm beats intensity

Week one is where many onboarding plans quietly fail. Everyone is busy, meetings pile up, and the new hire
starts to “just watch for now.” That’s a trap. Instead, set a calm rhythm: a daily plan, a repeatable routine,
and short feedback loops. You’re not trying to create a perfect worker in a week — you’re creating momentum.

Week one checklist (simple and repeatable)

  • Daily 10-minute check-in (block it on the calendar).
  • One process walkthrough per day (how work actually flows).
  • One “ownership” task (they run it with support).
  • Introduce 2–3 key people outside the immediate team.
  • Set communication norms (response times, channels, escalation).
  • Confirm any WHS/Privacy basics relevant to the role.

It’s worth saying plainly: a new hire asking lots of questions isn’t a problem — it’s a signal that they’re engaged.
Your job is to turn those questions into durable systems: checklists, templates, and clear “this is how we do it” notes
so the same question doesn’t keep returning.

30-60-90: progress tracking without the pressure

The classic 30-60-90 plan isn’t about performance theatre. It’s about clarity. At 30 days, people should understand
the basics and feel confident navigating the workplace. At 60 days, they should be contributing consistently.
At 90 days, they should own a meaningful slice of the work — with less supervision and more initiative.
A 30-60-90 roadmap with milestone markers and progress tracking
Track progress like a roadmap: clear milestones, honest feedback, steady support.

First 30 days

  • Know the tools, the team, and the key workflows.
  • Complete core training for the role.
  • Deliver 1–2 small wins with visible value.
  • Confirm expectations in writing (simple is fine).

Days 31–60

  • Own a recurring responsibility.
  • Improve one process (small change, real impact).
  • Start contributing ideas and spotting risks early.
  • Get feedback weekly (keep it steady, not scary).

Days 61–90

  • Operate independently on routine work.
  • Take ownership of a project or area.
  • Document one workflow for the next person.
  • Agree on goals for the next quarter.

Don’t forget the quiet essentials: security + privacy

One of the most expensive onboarding mistakes is treating security as an afterthought. You don’t need to frighten
people with worst-case scenarios. You just need to make the basics normal: multi-factor authentication, safe
password habits, how to handle client data, and what to do if something looks suspicious.
Cyber security and privacy icons integrated into an onboarding workflow
Security isn’t a lecture — it’s a habit built into everyday work.

A simple “cyber basics” checklist

  • MFA enabled for email and core tools.
  • Password manager encouraged (or required).
  • Phishing examples shown (2 minutes, practical).
  • Clear rule for client data storage and sharing.
  • What to do if a device is lost or compromised.
  • Who to report issues to — immediately.

A few quick onboarding truths

Why do onboarding checklists fail?
They fail when they’re built like a document instead of a workflow. If it’s not easy to follow, people won’t use it.
Keep it short, visible, and linked to real tasks.
How long should onboarding take?
The “formal” part can be a week. The confidence-building part takes 30–90 days. A good plan doesn’t overwhelm —
it creates steady progress.
What’s the fastest improvement most teams can make?
Pre-Start setup. If tools and access are ready, day one turns from chaos into calm.

Want an interactive onboarding checklist built for your business?

If you’d like this as a clean, web-based checklist (with progress tracking, sections, and a modern layout),
I can build it as a fast WordPress page or a lightweight plugin — designed to be easy for teams to actually use.
Get in touch

How to Build a WordPress Plugin the Right Way, Security Speed and Clean Code

Build Standards

Build a WordPress Plugin the Right Way

A plugin isn’t done when it works on one site. It’s done when it behaves well on different themes, different hosting, and under real user pressure. The difference is rarely clever code — it’s the boring disciplines: security, speed, and maintainability.

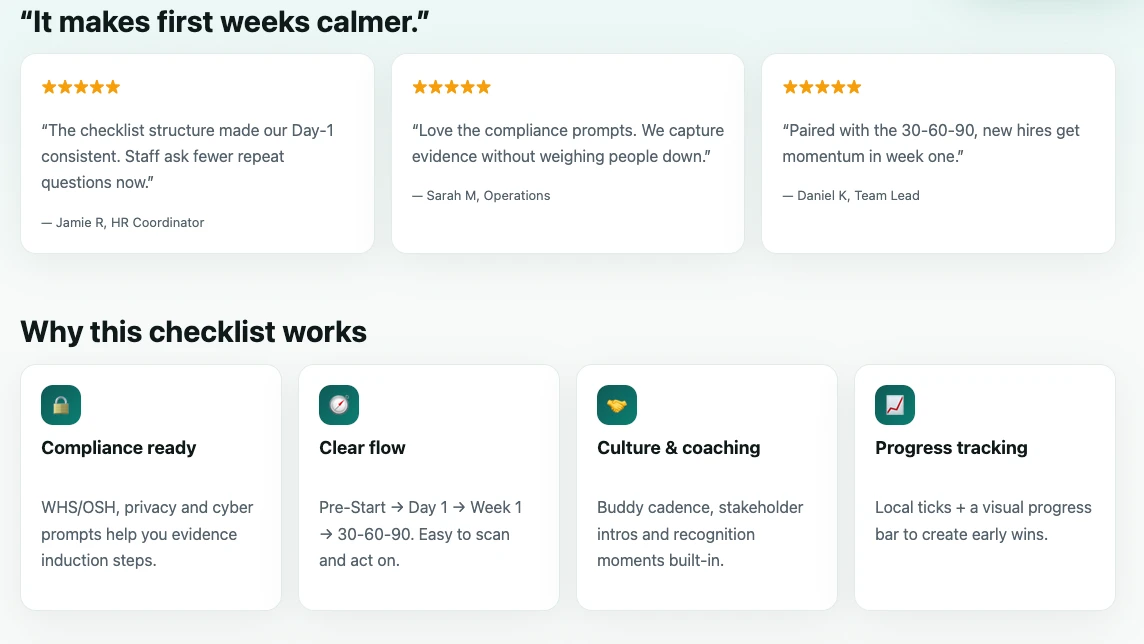
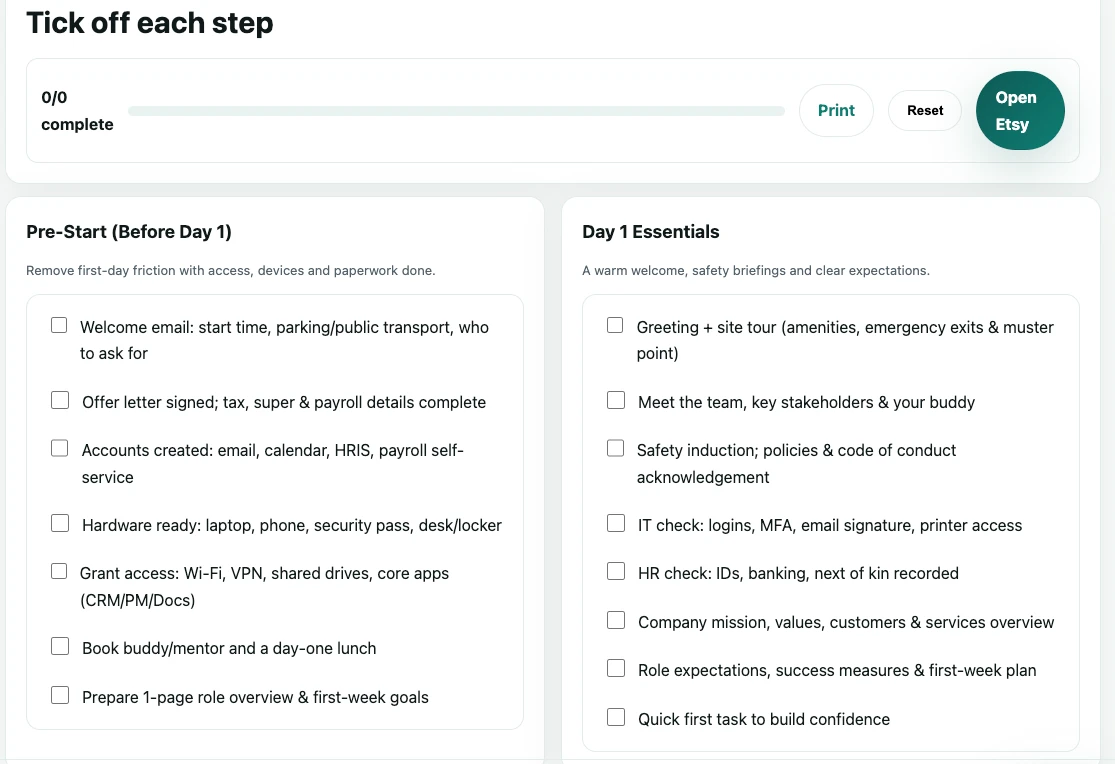
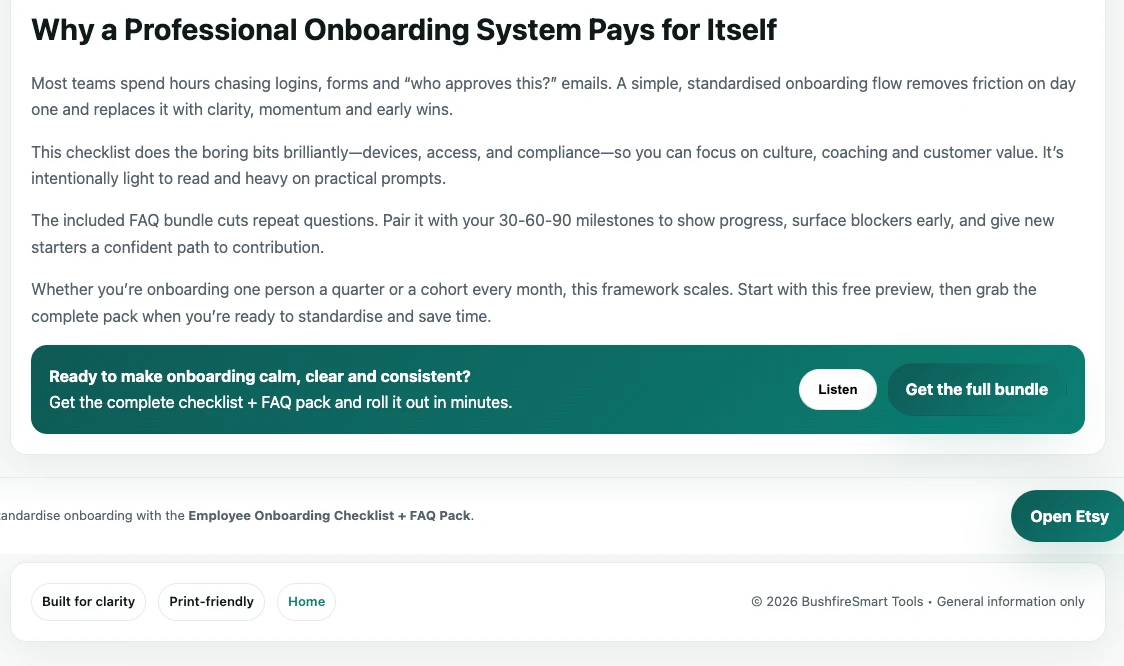
Employee Onboarding Checklist (30-60-90 Plan) — Interactive HR Template Build

A WordPress plugin can look fine on the surface and still be fragile underneath. That is where many problems begin. A rushed build might appear to work during a quick test, yet fail under real use when more content, more users, slower hosting, or conflicting plugins enter the picture. A professional plugin has to survive ordinary pressure, not just a clean demo.

The strongest plugins are usually built with a simple mindset: keep the logic clear, reduce unnecessary loading, protect every action, and make later updates safe. Those habits are not glamorous, but they are what separate a stable tool from a support headache.

Rule of thumb: Build like you expect updates, growth, and real users clicking everything.

Security

Security is not a feature you add later. It shapes the plugin from the first line of code. If your plugin takes form input, imports CSV files, reads query strings, or allows admin actions, then you are handling data that can be messy, incomplete, or malicious.

Good security is mostly discipline. Validate what you expect. Sanitise what you store. Escape what you print. Add permission checks so only the right users can run sensitive actions. Add nonces so actions cannot be triggered silently or by accident.

Core security habits

  • Validate and sanitise input: forms, URLs, imports, and settings.
  • Escape output: every value rendered into HTML.
  • Check permissions: lock admin actions behind capabilities.
  • Use nonces: reduce CSRF and accidental submissions.

If a user can type it, copy it, paste it, or upload it, it can be abused. The safest plugins are built for the messy version of reality, not the perfect one.

Speed

Most slow plugins are slow for ordinary reasons. They run code everywhere, load admin features on the front end, execute broad database queries, or enqueue scripts and styles on pages that do not need them. Performance issues often appear gradually as the site grows.

A fast plugin is usually a focused plugin. It does what it needs to do, only when it needs to do it. That means loading admin code only inside admin screens, keeping queries tight, paginating long reports, and caching repeated work where it makes sense.

Core speed habits

  • Do not load admin features on every front-end request.
  • Keep queries tight and fetch only what you need.
  • Paginate reports and logs instead of dumping huge tables.
  • Cache repeated work with options, transients, or object cache.

One useful question is this: what does this plugin do on every page load? If the answer is more than the minimum, that is usually your first speed improvement.

Clean Code

Clean code is not about style points. It is about making future changes safe and boring. When you come back to a plugin months later, you want to understand it quickly. When a client asks for a small change, you want to update one clear section, not chase six copy-and-paste blocks.

A maintainable plugin has clear names, small functions, predictable file structure, and simple settings. It avoids hidden side effects and surprise behaviour. It does not make future work harder than it needs to be.

Core clean-code habits

  • Use clear names for functions, hooks, and settings keys.
  • Write small functions that do one job.
  • Keep comments for why, not for what.
  • Refactor repeated blocks into helpers.

A simple test works well here: in six months, can you scan the plugin and confidently edit it without re-learning everything? If yes, the code is serving you well.

The Right-Way Workflow

A stable process protects client sites just as much as good code. Many plugin problems do not start with bad ideas. They start with rushed deployment, weak testing, and unclear rollback plans. A calm workflow prevents those avoidable mistakes.

The five-step approach

  1. Staging or Backup Plan
    If you can stage, stage. If you cannot, take a backup and know how to roll back.
  2. Build the Smallest Working Version
    Start with the core flow end to end. One proper feature beats five half-built ones.
  3. Add Logging for Key Actions
    Especially for money, emails, imports, and automations.
  4. Test Like a User
    Click every button, try invalid input, and test mobile as well as desktop.
  5. Ship Versioned and Rollback Ready
    Deliver a versioned ZIP, a short changelog, and a clear rollback point.

A Practical Definition of Done

A plugin should not be considered finished just because the main feature works. It should run without notices, respect permissions, avoid global asset loading, handle bad input without breaking, and remain usable on ordinary hosting. It should also be readable enough that future updates are safe.

A plugin is done when it is stable, readable, secure, and easy to update — not just when it “works”.

What This Protects You From

Most plugin emergencies are predictable. Duplicated posts, broken cron jobs, admin pages that time out, forms that spam, imports that misfire, or updates that change behaviour unexpectedly — these are common problems, not rare ones.

A disciplined build prevents many of them before they appear. The more pressure-tested your plugin is, the calmer your support process becomes.

The Client Sees the Outcome

Clients do not pay for code style. They pay for stability, fewer headaches, and confidence during updates. When your plugin is secure, fast, and maintainable, the result is simple: fewer surprises, smoother changes, and a much more professional experience.

The best plugins often feel simple from the outside because the hard thinking happened quietly during the build. Keep your standards steady, and the results will compound over time.

The Professional Difference: Build like you expect updates. Build like you expect growth. Build like a real person will click everything. Do that consistently and your work will last.